

Boat building certainly fits my personality type. I like to be busy but I get bored easily. Luckily there always something else to work on when you are building a boat. We've been busy doing glue ups, threading bolts and building our rolling gantry crane. This post will probably be all over the place however, you'll see we are making good progress.
First off I wanted to give a big thank to my son's friend Cole for developing some channel art for our YouTube channel and our blog. I'm not sure yet how I want to incorporate them but I really appreciate his effort.

We continue to be fussy about the fits of the very keel components. I'm running each keel piece over the jointer to give the cut face a nice smooth, flat and square surface. Careful attention is paid to each preceding glue up to ensure the mating face is flat and level. I might have a sickness with regard to how much I enjoy looking at the glue lines of our lamination's. They just came out perfect!

I called in the admiral to assist with the deadwood glue up. The dry fit was easy but after applying epoxy it became quite slippery and wanted to slide off when clamp pressure was applied. We used a 2x4 to brace it against the wall to hold it in position as we applied the clamps.

We continue to double check our measurements and angles against the plans and what we are getting in the real world. The shaft log angle was a 1/2 degree off which is well within are margin of error. So things are looking good.

We simply dry fit the stem knee just check our angles and fit. Things look great and the angles matched the plans exactly.

The the rolling gantry crane project continues to progress nicely. I don't foresee the crane carrying any overly heavy items, but the crane itself is substantial so I wanted it to have a firm base to roll on. We planned to install the track right on the building cradle since we knew that was already dead flat. With 2x4's laid flat on the cradle, they did not have enough stiffness to span the space between each timber. I fabricated a support system that looks like half of an I-beam, like a long T.

We milled up some left over larch from our frame stock that we did not use. These were the pieces that had knots, sapwood or other defects that were not good enough for the boat but are perfect for this application. Machining them to approximately dimensional 2x4 stock, they were then turned on edge and screwed to the flat 2x4 from underneath. Plenty of screws and a couple of support blocks made the track bed very ridged.

With the track bed sections secure, it was time to lay the track. We used a string line to make sure over the course of 36 feet the bed was nice and straight. We left the string in place and aligned the track the same way.

It was then just a matter of clamping the track in place with some C-clamps to keep them from moving while it was screwed into place.


With one side in place it was time to lay the opposite side. Since the keel is in the way there was no real easy way to accurately measure or use a gauge block. We built a jig to straddle over the top of the keel. It was a very simple jig using some 2x4's and the v-groove wheels we purchased for the actual crane. With the wheels square on the track it was just a matter of rolling the jig down the track and adjusting as necessary as the wheels went out of square. We were pretty close to begin with but some adjustments were required.

We've also been busy finishing our keel, knee and rudder bolts. This is a perfect project when time is limited like after work or when it gets to dark in the boat shed. All 35 bolts are now complete and we are currently making arrangements to ship them to the galvanizer in Cleveland, Ohio.

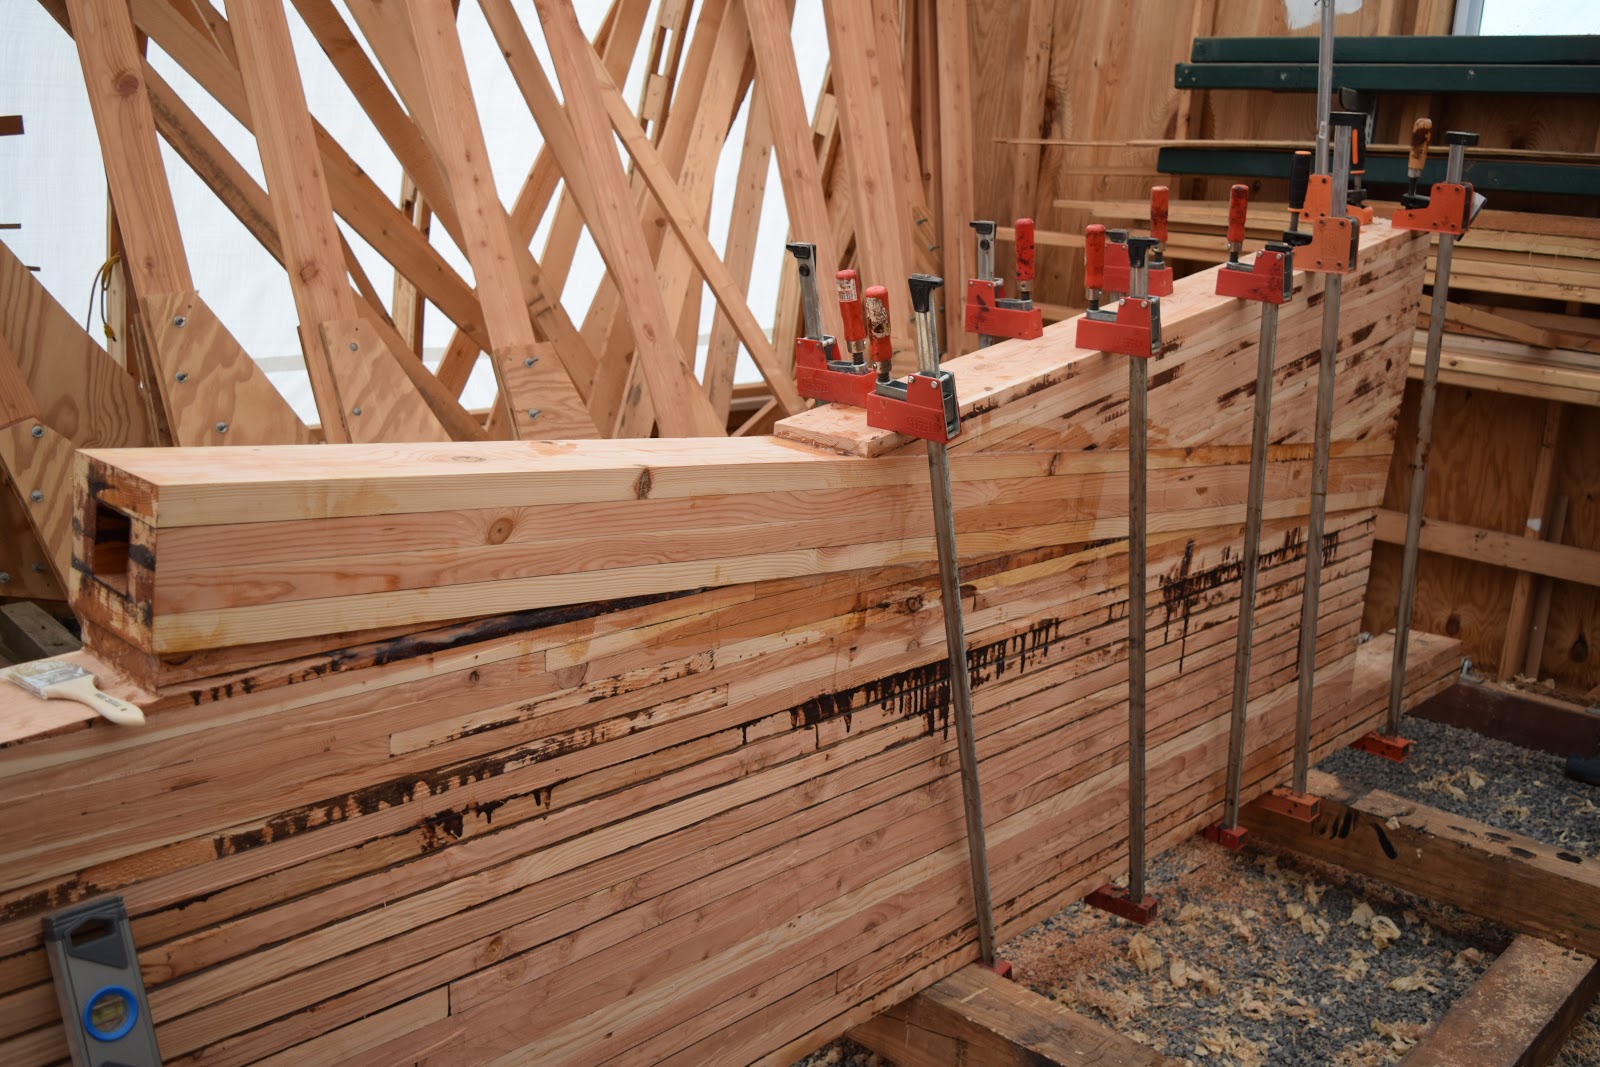
Finally, we finsihed the last keel glue up the the sub-assembly that supports the transom. We learned from the previous slippery glue up and drove a couple screws in to hold the piece in place until the clamps could be applied.

After a couple of days we removed the clamps and proceeded to dry fit the transom knee. Things look great and this keel is truly monstrous, nearly 8 feet tall at the top of the knee.

Next up is modifying the crane similar to what was described in the previous post and adding the wheels. Once complete I think it's going to be a huge labor saver when go to install the frames. We also have some work to do machining and laying out the pieces for the transom.
There's never a shortage of things to do, and that's just the way we like it! Thanks for checking out our project and we hope you have success on your to-do list.
No comments:
Post a Comment